The KreaTech Admin Panel is the teacher-facing interface of KreaTech. It is the workspace where all content creation and management takes place. This means, for example, adding authors, institutions, uploading images and documents, and creating the actual content: lessons, modules, and courses.'
Logging In
Teachers access the Admin Panel by visiting:
Log in with the credentials provided by Cinematronic. Once authenticated, the system opens the Admin Panel dashboard, which displays recent activity and provides navigation links to all collections.
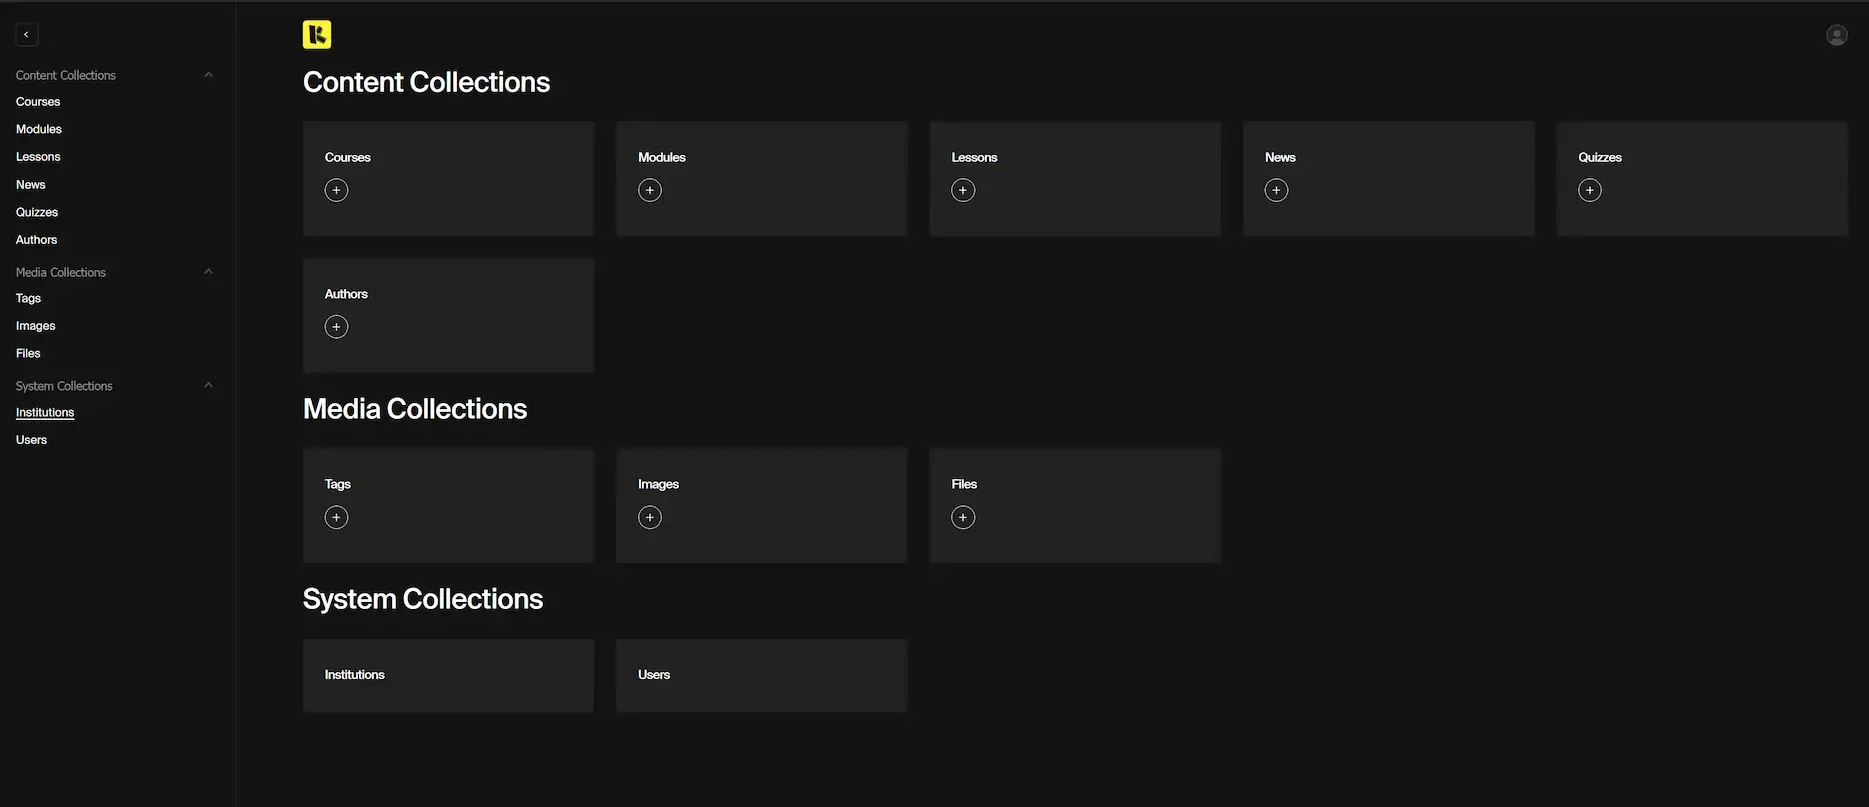
Default view of the Admin Panel, with navigation options.
Overview of Collections
The core of the Admin Panel is built around collections. Each collection represents a category of content or resource that can be created, edited, and managed.
- Courses: Top-level frameworks that group modules into a complete program.
- Modules: Sets of lessons organised around specific objectives.
- Lessons: The smallest units of content, including text, media, and optional quizzes.
- Quizzes: Lightweight self-assessment objects attached to lessons. They can contain different types of questions (single choice, multiple choice, slider) to check understanding.
- Institutions: The institution you belong to, and that other users also belong to. Everyone in your institution can edit the content you create. People outside your institution cannot edit your content, but they can view it, reference it, and reuse it. If, when creating a course, module, or lesson, you assign an optional secondary institution, then users in that institution have the right to edit your content, but not delete it.
Authors vs. Users
- Authors are content labels displayed on the student-facing side of the platform (e.g., "Professor Smith"). They exist for attribution, as in, who should a course be attributed to? Can be a specific individual, or the name of an organisation. These authors cannot log in or make changes on the platform. They are, for all intents and purposes, tags.
- Users are system accounts used to log in to the Admin Panel. They can upload and publish content.
Supporting Collections
Several supporting collections enrich and categorise content. Everyone, even users outside your organisation, can see and reference these, but only you or users within your organisation can edit or delete them.
- Tags: Keywords used to categorise and filter courses, modules, or lessons. They improve discoverability.
- Images: Media files (e.g., thumbnails, illustrations) are uploaded once and then reused across lessons, modules, or courses.
- File Resources: Uploaded documents such as worksheets, templates, or additional reading material that can be attached to lessons or modules.