Introduction
Before building your first course in KreaTech, you must first ensure that you have created an author to attribute it to. Attribution matters because it gives credibility to the content, shows students the expertise behind the material, and makes it possible for institutions to recognise the work of their staff and collaborators. In KreaTech, attribution is handled through the Authors collection, not through the system's Users. Only courses and lessons can be attributed, but not modules.
Although the words "author" and "user" may sound interchangeable in everyday language, they serve different goals on KreaTech. To avoid confusion, this lesson explains in detail how Authors differ from Users, why Authors must be created before content can be published, and how to create your first Author in the Payload admin panel.
Users: Managing the System
A User in KreaTech is an administrative account that can log in to the CMS backend. Users manage the platform itself: they create lessons, build courses, update modules, and maintain the structure of the site. Each User is tied to an institution and given a role. As a content creator, you will usually have the role of Editor, which allows you to create and modify lessons but not change system-level settings.
The important point is that Users are never visible to students on the frontend. For example, if an Editor with the User account
Authors: Representing Creators
An Author is not a login account but a record. Authors exist to represent the people whose names should appear publicly on lessons, courses, or news articles. An Author record typically contains the person's full name, a brief professional description (e.g., Lecturer in Media Studies or Software Architect), and, when applicable, details such as a profile picture or professional email address.
Unlike Users, Authors never log into the system and hold no administrative role. Think of authors as representational tags: they provide visible credit to the person who created or contributed knowledge.
For example, imagine that a guest lecturer, Dr Emil Sørensen, delivers teaching material on film editing. Dr Sørensen does not need a User account, because he will never enter the backend himself. Instead, an editor with an account linked to a university uploads their lesson into the CMS and attaches a newly created Author record with their name and title. On the student-facing site, the lesson is then published with the byline "By Dr Emil Sørensen, Lecturer in Film Editing".
This separation guarantees that professional recognition goes to the real contributor while the backend remains secure and uncluttered. The same Author record can be linked to multiple lessons, courses, or news articles across the platform.
Why Authors Must Be Created
From a security perspective, not every contributor should be granted login credentials. Many guest contributors or external specialists only need to be represented in the content, not in the administration panel. By creating them as Authors, their identity can be shown on the frontend without expanding the number of backend Users.
From a pedagogical perspective, students need to know whose knowledge they are receiving. A lesson without an Author feels anonymous and reduces trust in the material. By attaching an Author, the course makes visible the expertise, background, and authority of the person responsible for the content.
From a workflow perspective, separating Users and Authors prevents confusion when one User creates content on behalf of another. For instance, a department employee or student assistant can upload material written by a professor. If only the User account were recorded, the lesson would appear to be written by the Editor, which would be misleading.
Creating Your First Author
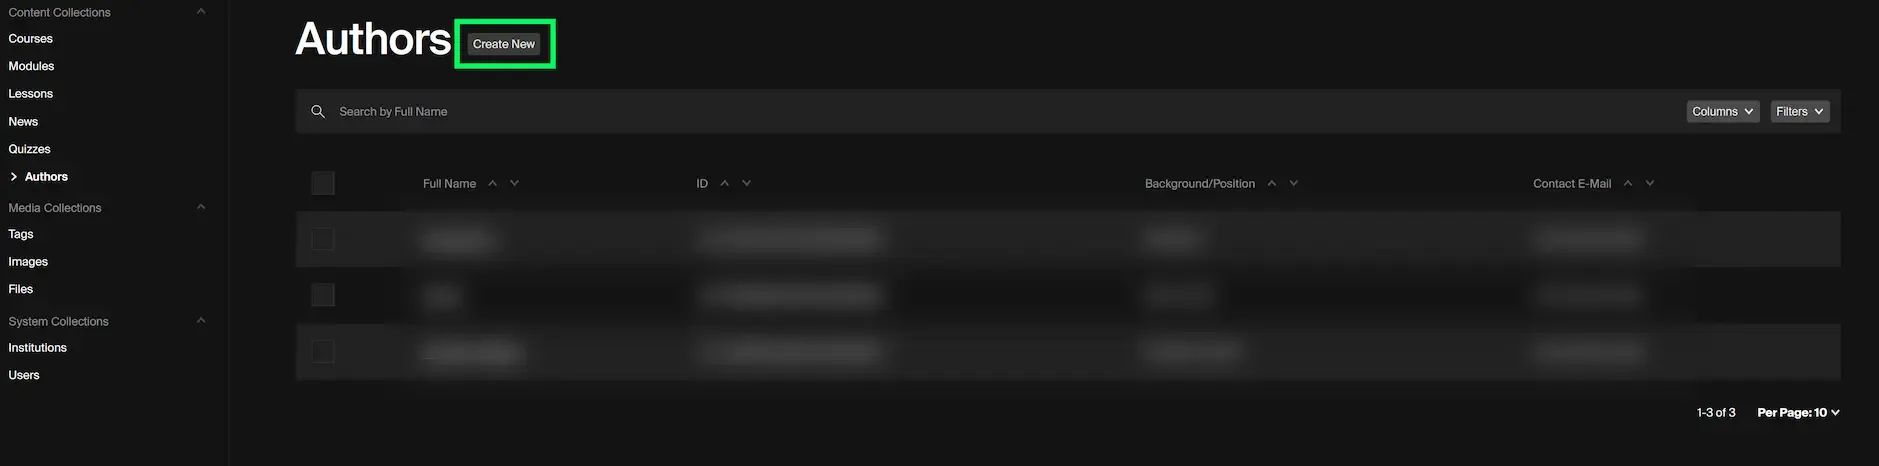
View of the Authors collection inside the Admin panel. To create a new author, click on the highlighted button "Create New".
To create an Author, log in to the KreaTech admin panel with your User account. In the sidebar, you will find the section labelled Content Collections. From there, select Authors. This opens the list of all current Authors in the system. To add a new one, click Create New.
The form requires you to enter at least the Author's full name. It is also mandatory to include their professional background or position. If appropriate, consider uploading a profile picture. The more information added, the more credible and useful the attribution will be on the student-facing site.
After completing the fields, click Save. The Author record is now stored in the system and can be linked to lessons, courses, or news articles.
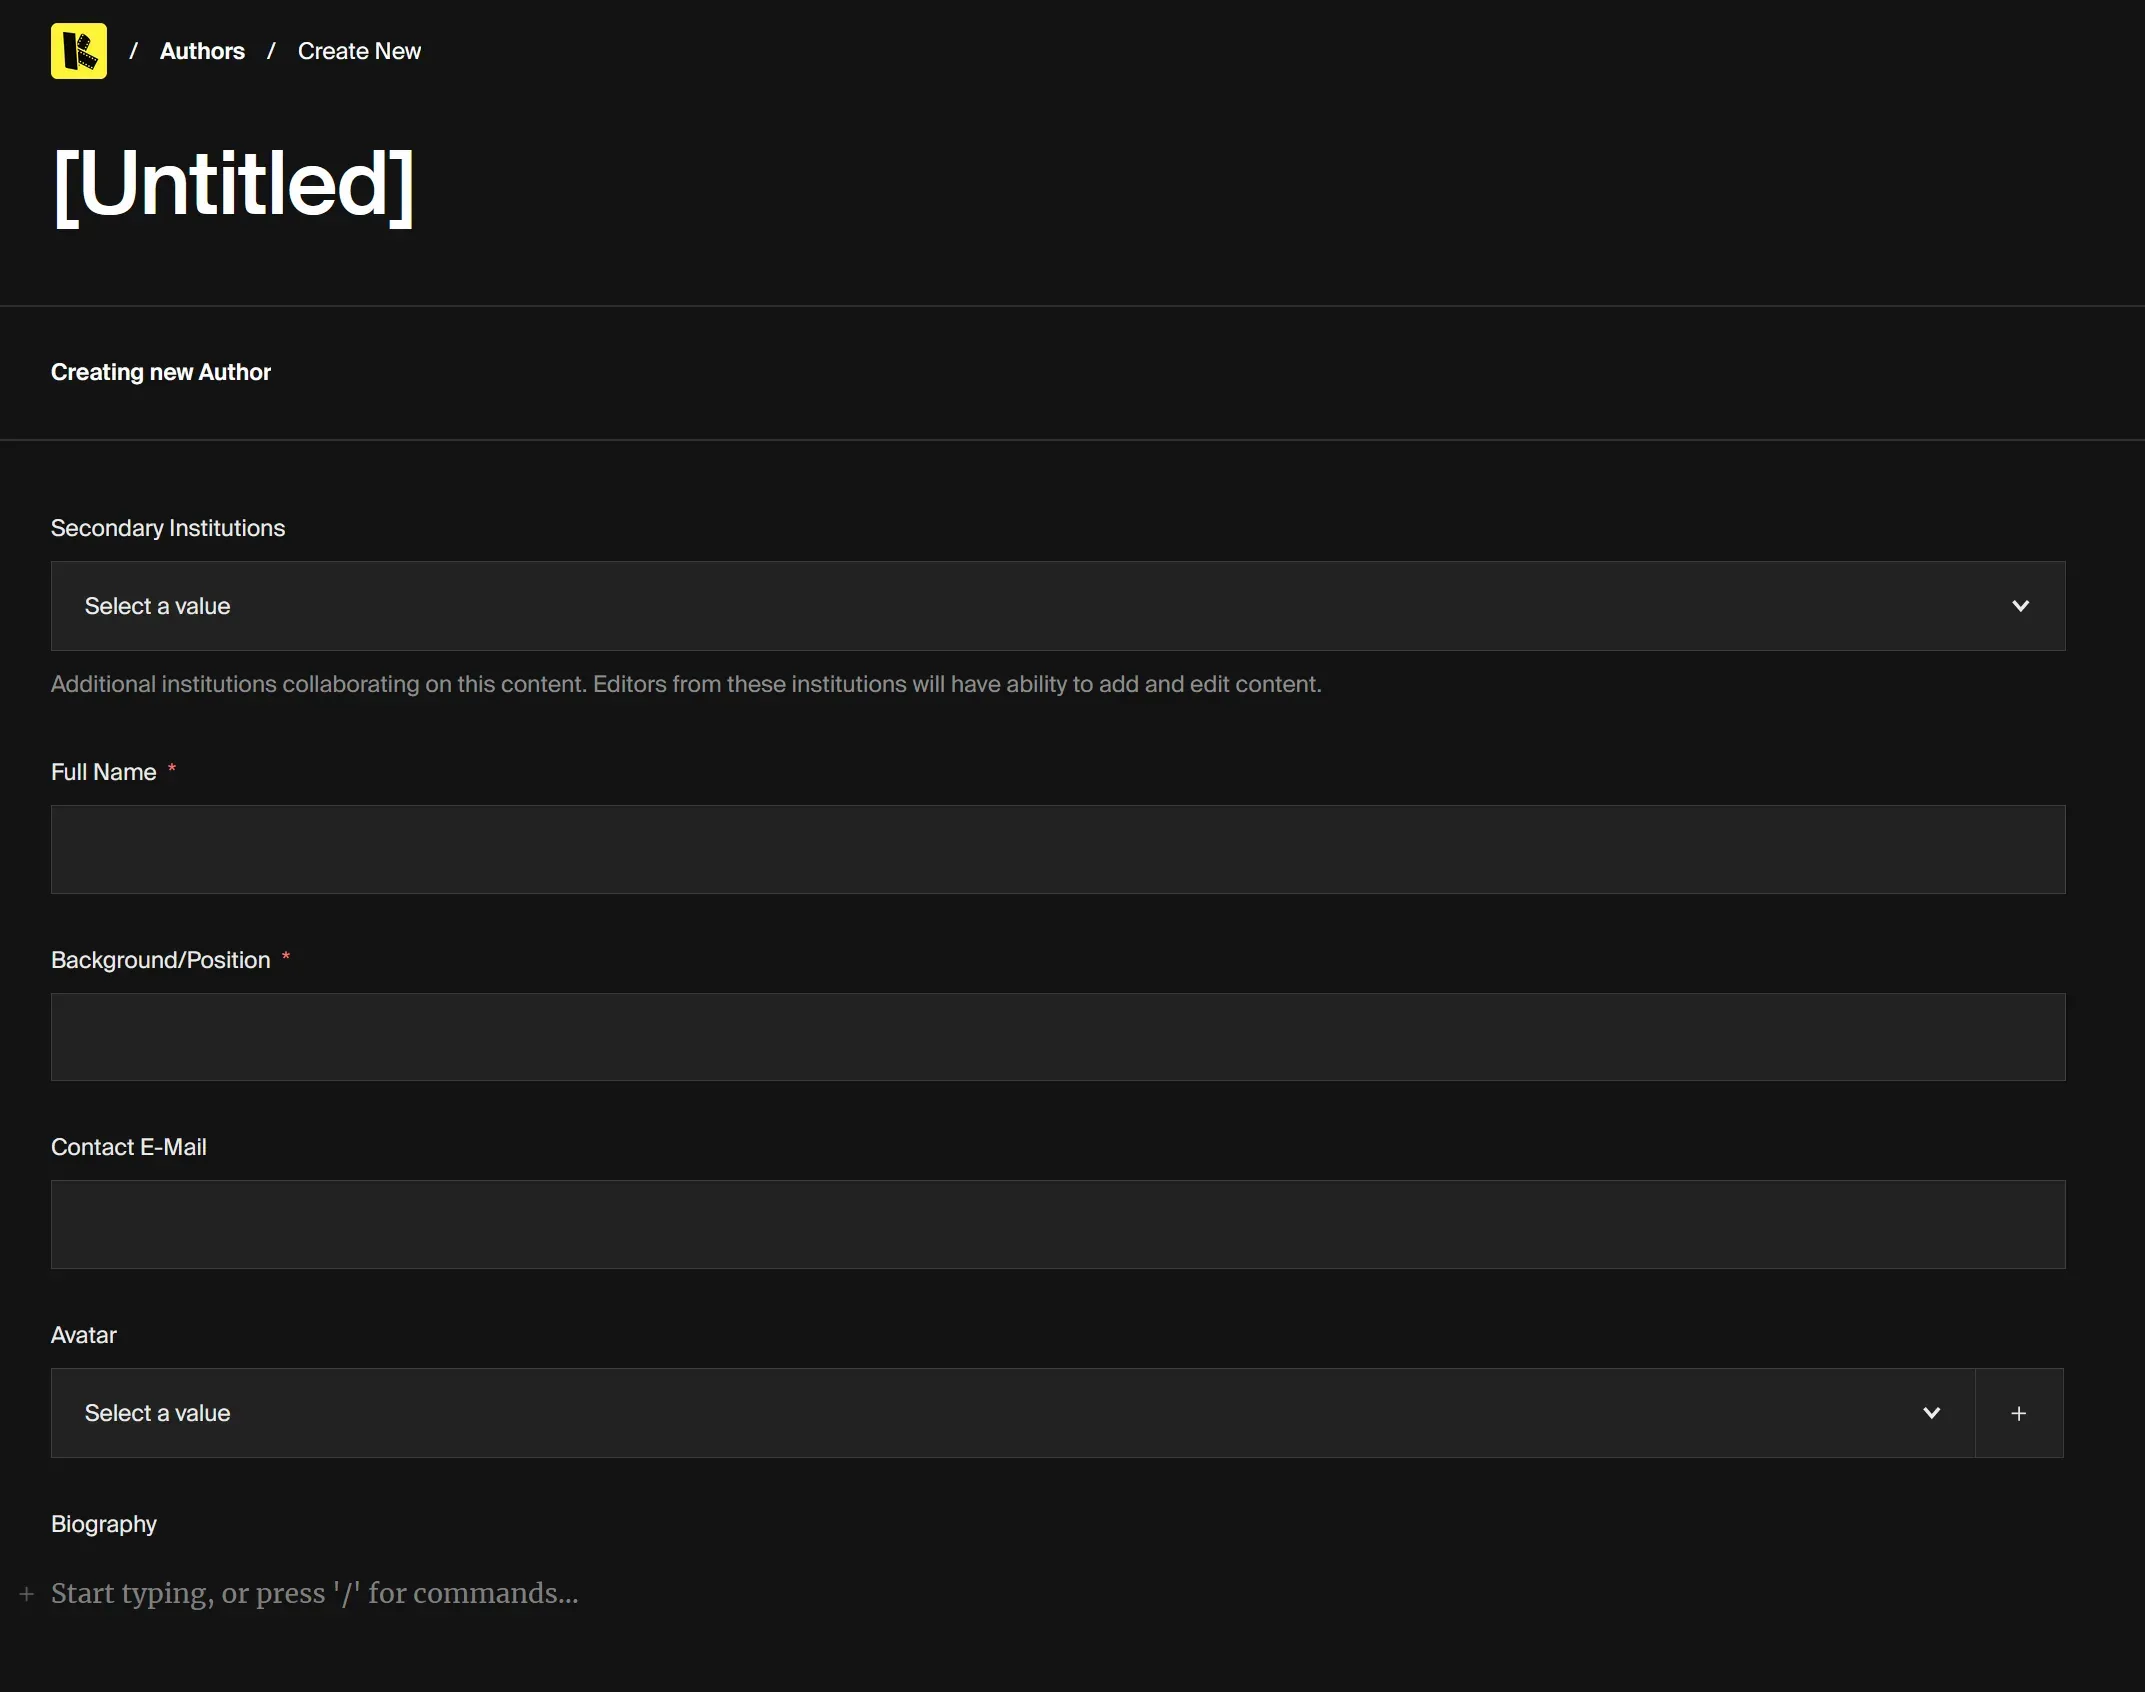
Form view in the KreaTech CMS for creating a new Author. The mandatory fields are Full Name and Background/Position, which must be completed before saving. To save, click on the the Save button in the right corner (not shown in the image)
Linking Authors to Lessons
Creating an Author alone is not enough; the final step is to link them to the content they have contributed to. When you edit or create a Lesson in the CMS, you will find a field for selecting an Author. Choose the appropriate Author from the dropdown menu. Once the lesson is saved and published, the frontend will display the byline using the Author's details.